Los Ojos Rojos
Dark Age of Camelot PvP Freeshard and Dawn of Light resource
Ubuntu terminal Connecting to a freeshard
Adding admin/GM jump locations
Using SimpleTeleporter
Custom Startup Locations
Reward style DataQuests
Interact goal
DOLToolbox Reward Quests
Guide updated on 03/11/2018
The following guide aims to be a relatively 'bare-bone' install and setup of a Dawn of Light server on an Ubuntu Virtual Machine running on a cloud instance.
A few things worth noting before we begin
- I have very limited experience on linux but I was able to get it up and running thanks to alot of help from 'YaY' over at dolserver.net so big shout out to them.
- The linux distro I used for this is Ubuntu 18.04, some commands will be specific to that version. But you can probably use other distros with a few variations on the commands.
- The guide assumes you have some Dawn of Light experience (database and Dawn of Light source to work with). If not I suggest following my Windows 10 guide first.
- Success may vary! If something doesn't work, double check spelling / working folder, do some googling.
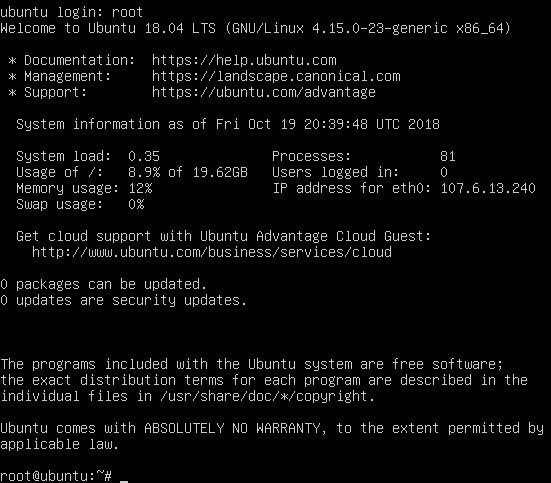
Ok! With all that said, lets get started. For this guide I signed up for some random free trial VM cloud provider and booted it up with Ubuntu 18.04. Once you get to the shell terminal you can begin.
For this guide we will mostly be using pre-isntalled apps or apps available from the Ubuntu repository. Lets start by installing MariaDB.
To install we will run these commands:
sudo apt update
sudo apt install -y mariadb-server
Now we will secure the installation and setup our root password.
sudo mysql_secure_installation
You will be prompted by a series of questions to setup a secure installation. You should answer as follows:
Enter current password for root (enter for none): Just press Enter
Set root password? [Y/n]: Y
New password: Enter password
Re-enter new password: Repeat password
Remove anonymous users? [Y/n]: Y
Disallow root login remotely? [Y/n]: Y
Remove test database and access to it? [Y/n]: Y
Reload privilege tables now? [Y/n]: Y
Run the following commands to finishing setting up the root password:
sudo mysql -u root -p
use mysql;
update user set plugin='mysql_native_password' where user='root';
flush privileges;
exit
All done. Remember the password you set!
Now we will install mono. This is used to compile our server code on the linux machine. It's also on the Ubuntu repository but we want to get the latest version. Goto Mono. Run the commands on the page to setup the mono repository
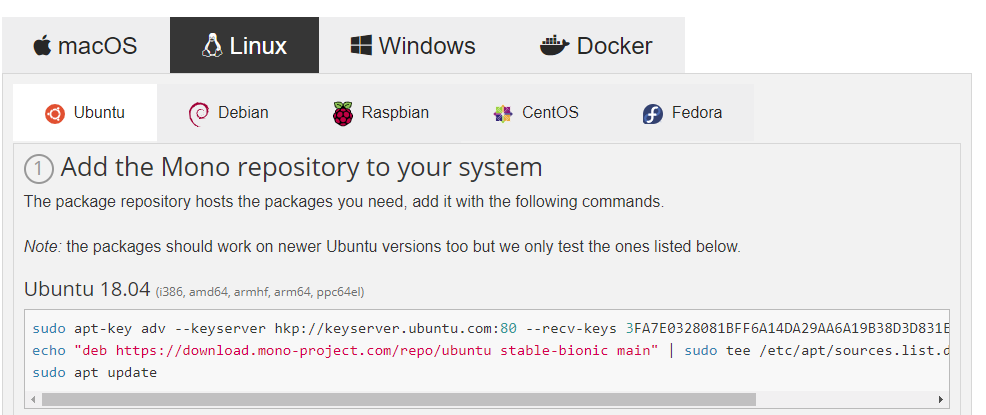
and then run the following command to install mono:
sudo apt install -y mono-complete
Now we install 7zip. You will use this later to extract your database and server files after they have been copied
to the VM. There are plenty of apps to extract/compress files. I like to use 7-zip:
sudo apt-get install -y p7zip-full
Ok now we have the required packages installed on the VM.
Now its time to setup some software to connect to the VM and allow us to transfer files to it. First, I want to make a folder on the VM to hold all our files. Run the command:
mkdir dolguide
To transfer files to the VM, I will use WinSCP. It's a pretty straight forward app for file transfering. Goto WinSCP to download and install.
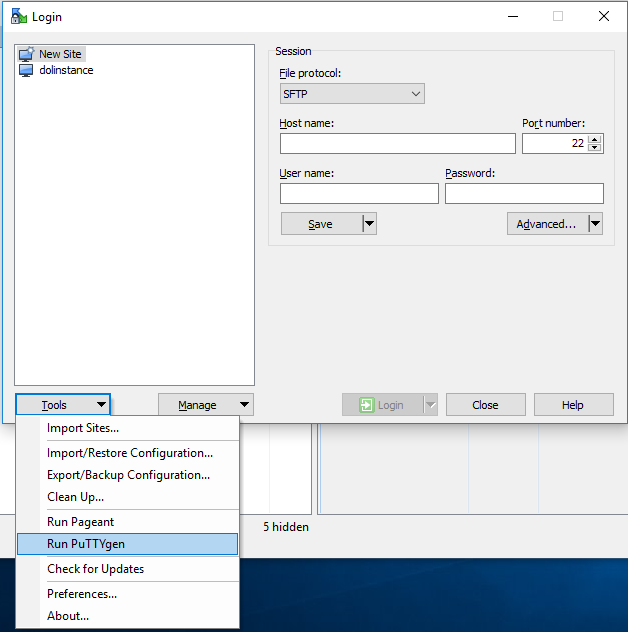
Now we need to create a SSH key for us to use to connect to the VM. Open WinSCP. You will be prompted with a login session screen. Click on tools, then 'Run puttygen'
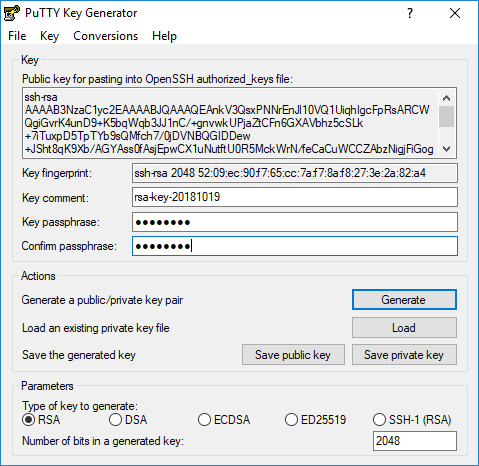
Click on the required key type for your VM (the default ssh-rsa is normally accepted). Putty asks you to move your mouse around while its generating the key. Enter a key passphrase (To protect your private key). Save the private key and leave this window up for now. (Note: For the scope of this tutorial, this is relatively fine. But to ensure better security to your machine, other steps should be followed. Secure Shell is a worthy read.)
Now we will add the public key to VM. Go back to the terminal run the command:
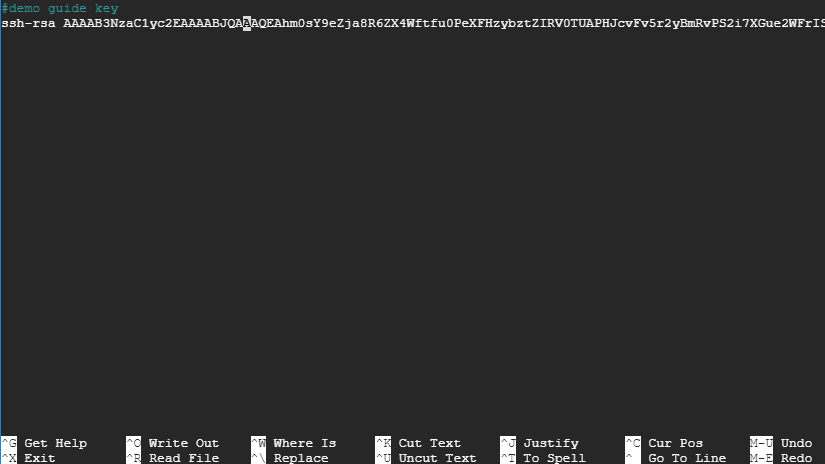
sudo nano ~/.ssh/authorized_keys
Go back to the puttygen window and copy the public key that is shown in the top window. Paste in the key you copied, make sure it only takes up one line. Save the file and exit the editor. ('Control + x' to exit, 'y' and enter when prompted to save)
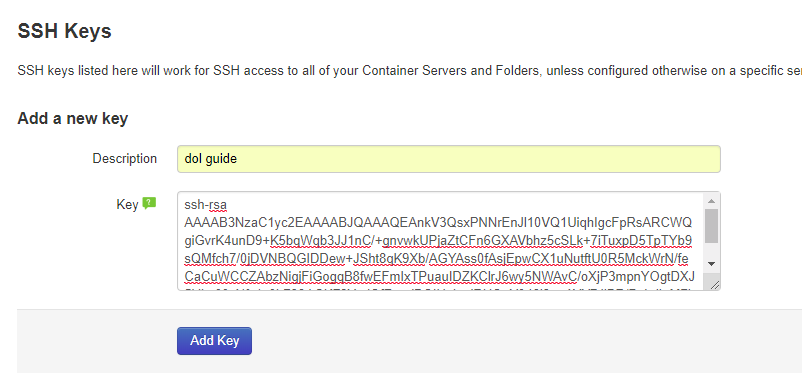
Some cloud providers allow you to add a public key from their control panel, which will be added to VM when you restart your session
(At this point I swapped VM providers as I was unable to copy and paste commands to the terminal, and there was no way I was going to type that key!)
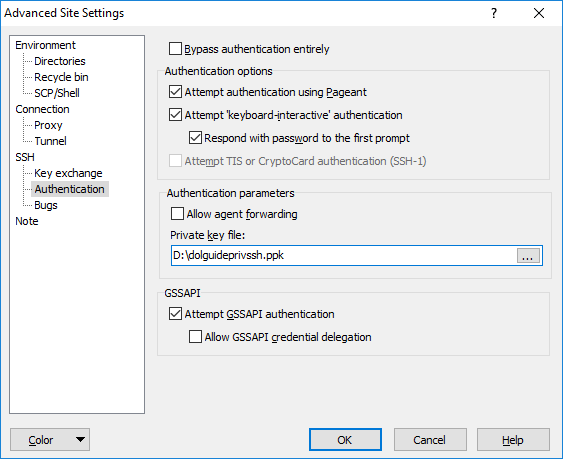
With the key added, we can go back to WinSCP and fill in some details. Your VM's remote IP (Host address), your user name (presumably you account name at cloud provider), select SCP as the protocol. Click advanced, authorization, and select private key. Select the private key you saved earlier. Click 'Ok' and then make sure you click save so you don't need to do this everytime.
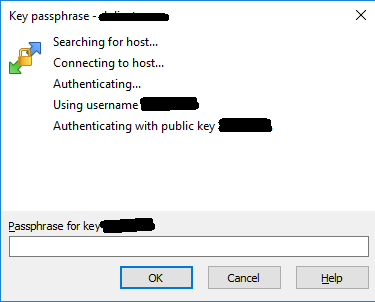
Hit the 'Login' button to attempt to connect. If all goes well, you will be prompted to enter your private keys' passphrase you entered when creating the key. Enter it, hit 'Ok' and hopefully you connect!
Now that we are connected, time to copy over our database.sql file, and our server source files. I recommend zipping them to increase the transfer speed. Your server source folder may look something like this. Make a copy of the folder as we will delete some sub directories from the copy! (Note: If your source is is up on a git managed repository, you can use 'git clone' but I will not be covering that in this guide.)
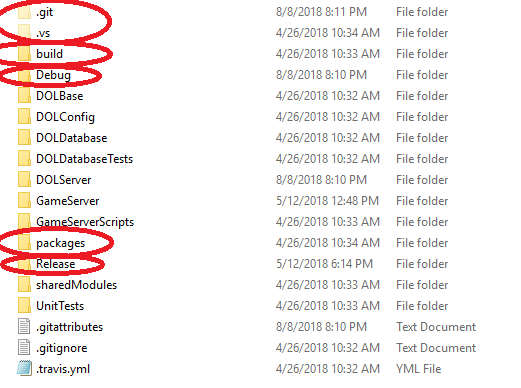
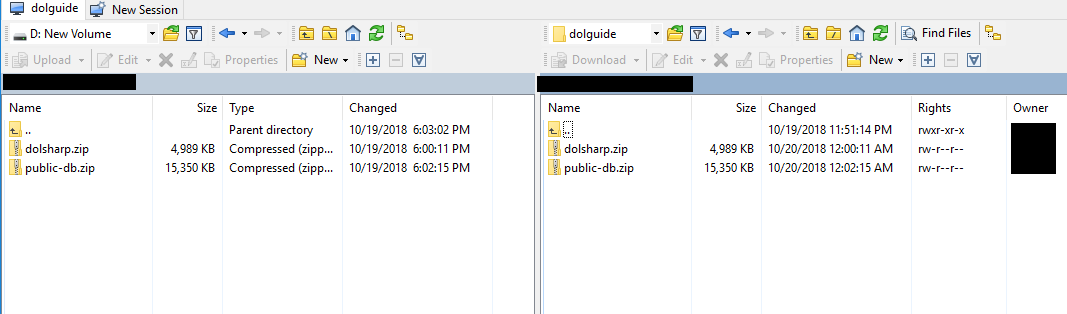
Make sure you are in the copied source folder and delete the folders shown in red. Now zip the copied source folder up. From inside WinSCP, the left panel represents your PC, and the right window is the VM. Navigate to your database and server source and copy them across to the VM (Drag and Drop is fine).
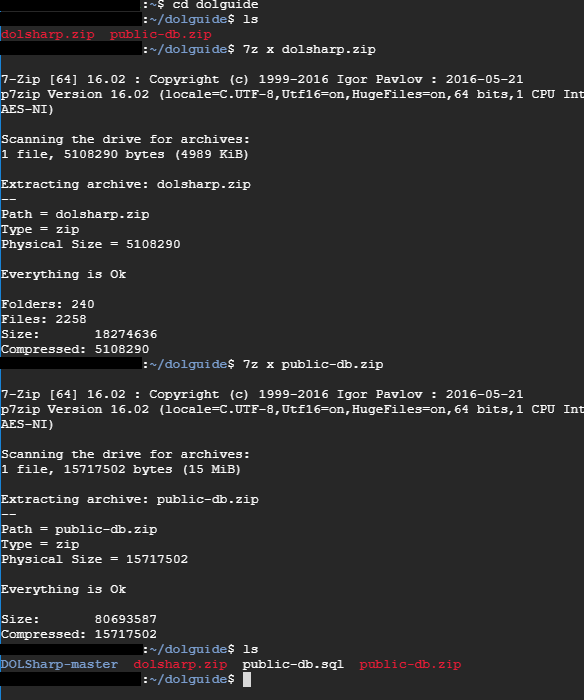
Time to extract the files. Go back the the VM shell terminal. You can run the command: ls -l to confirm the files are there. Now we use 7zip to extract. Use the command:
7z x full-file-name-CaseSensitive
(The 'x' makes sure it extracts the files using their directory structure)
Files are on the VM, extracted, now lets setup MariaDB. We need to add some parameters to the mariaDB config file:
sudo nano /etc/mysql/my.cnf
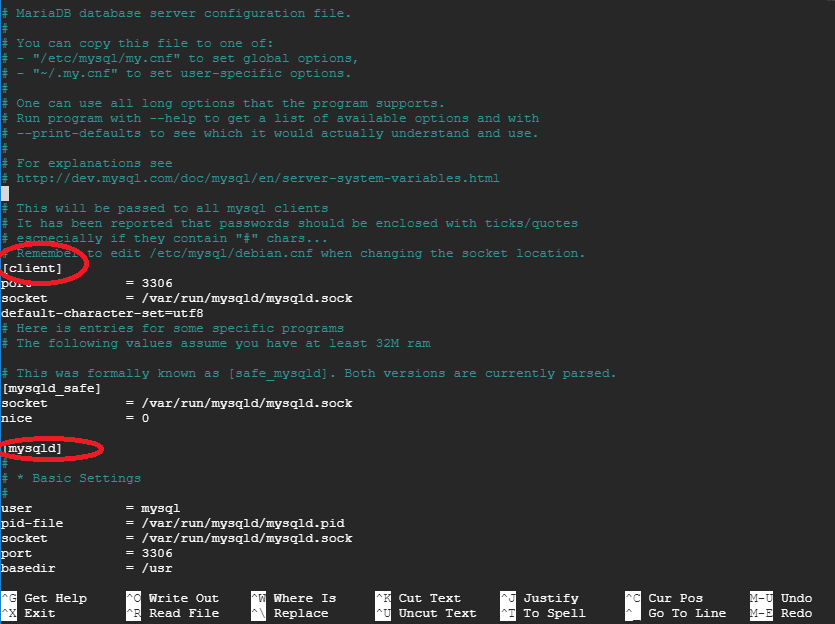
You will see the headings surrounded by [] brackets (as seen in red in picture). Add the following parameters to their respective headings:
[mysqldump]
max_allowed_packet = 200M
[mysql]
default-character-set=utf8
[client]
default-character-set=utf8
[mysqld]
lower_case_table_names=1
collation-server = utf8_unicode_ci
init-connect='SET NAMES utf8'
character-set-server = utf8
max_allowed_packet = 200M
Save the file and exit it.
Now restart the mariaDB service so it loads the additions to its config file:
sudo systemctl restart mariadb
Onto the database. Run the following command:
mysql -u root -p
Enter the root password.
create database database name;
(This guide is using the public DB, so in this case I entered dol for the DB name - create database dol)
exit
mysql -u root -p -b DB name < databasefile.sql location>
(My command was: mysql -u root -p -b dol < ~/dolguide/public-db.sql) Note - using ~/ points the command to the current users home folder
Time to compile your source code. From the terminal, navigate to your server folder you extracted earlier. Coming from windows, the folders don't have the correct permissions.
To fix this we run a command the sets file and folder permissions recursively:
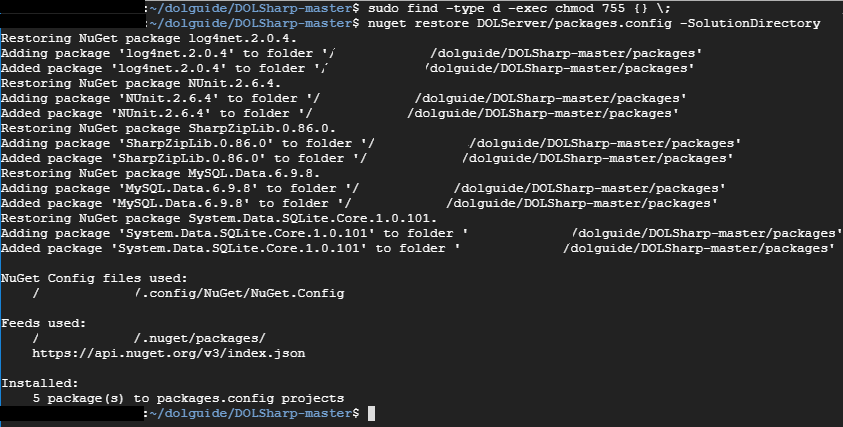
sudo find -type d -exec chmod 755 {} \;
(Note: Make sure you are in the correct folder before running this command!)
With the permissions now set, we will restore the source packages using nuget:
nuget restore DOLServer/packages.config -SolutionDirectory ./
MONO_IOMAP=case msbuild /p:Configuration=Debug "Dawn of Light.sln"
(Change Configuration=Debug for Configuration=Release for release build)
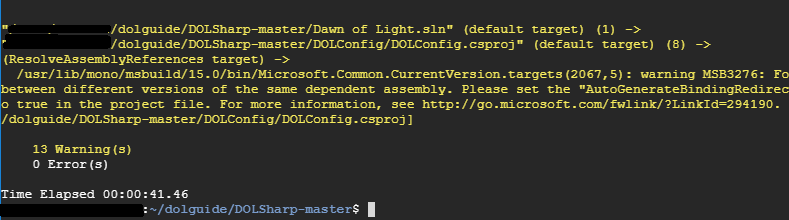
Hopefully you will see something like in the pic above. Type ls -l and you should see that it created folders 'debug' and 'Debug'. Run the following command:
cp -r debug/* Debug
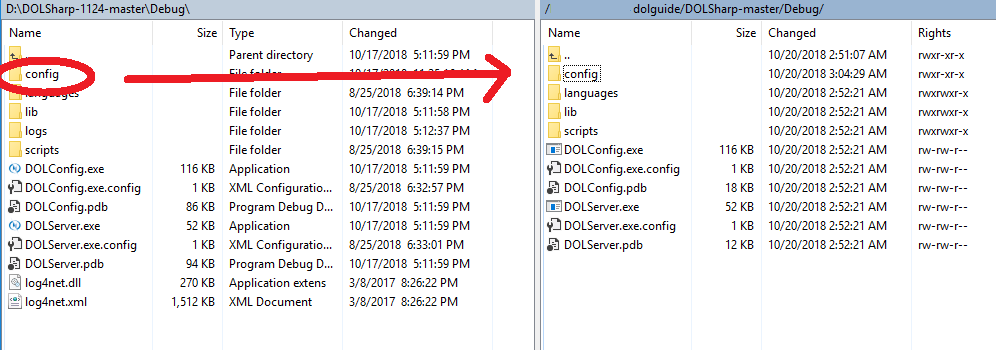
Now everything is copied to the 'Debug' folder. Now at this point if we were on Windows, we would run the 'dolconfig.exe' and put in our settings. You cannot run this from the terminal. So I
like to use WinSCP again and copy over a config folder from my windows machine. Go back to WinSCP and hit the green refresh button to see all the new files and folders that have been created.
Drag and drop your config folder over the the VM.
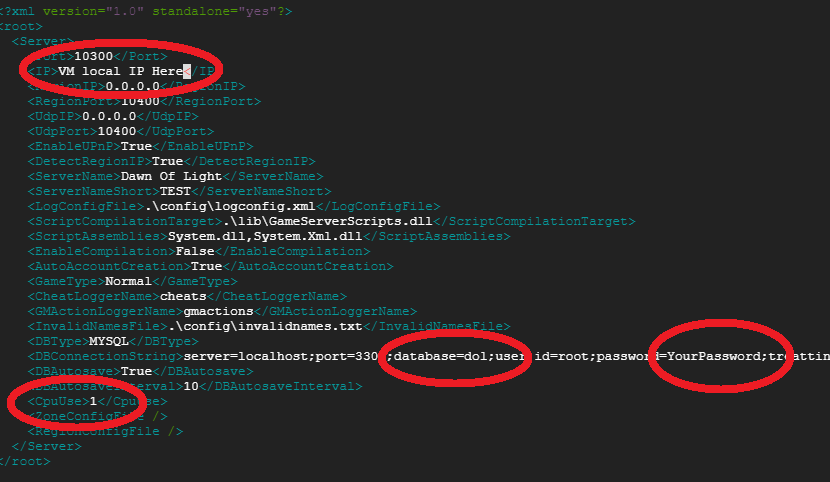
Now we can edit this config file to suit the VM settings. Navigate to the /Debug/config folder on the VM. run the command:
sudo nano serverconfig.xml

Put in your VM's local IP address, database name and password, and set the cpu's to how many virtual cores the VM uses. Save and exit the file.
Almost done! The server is ready to test. Go back to the /Debug folder. Run the command:
LANG=en_US.CP1252 mono --debug --gc=sgen --server DOLServer.exe
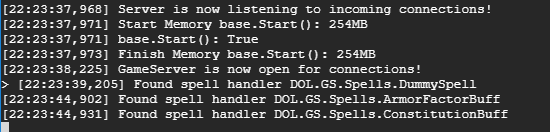
You should hopefully see some familiar feedback of the server console starting up with it saying it's ready for connections.
So everything works. Now it's up to you to add firewall execptions for the ports 10300 (tcp) and 10400 (udp) from the cloud providers control panel. I'm not going to go over this as it varies greatly between cloud providers.
After the firewall execptions have been added, you can restart the server and see if you can connect from your windows machine.
The last thing I will cover is setting up a 'terminal multiplexer' which allows you to close the shell terminal session and keep the dol server instance running (as long as the VM is running).
It is very simple. First, make sure the dol server isn't running. Now navigate to the 'Debug' folder. Run the command:
tmux new -t dolserver
A fresh terminal window will open. You can now run the same command as before to start the server:
LANG=en_US.CP1252 mono --debug --gc=sgen --server DOLServer.exe
And thats it, you can close the window and the dol server instance will continue to run. Next time you load up a shell session with the VM, you can get back to the tmux session by running the command:
tmux attach -t dolserver
Ok that was long! Hopefully some of you had success with this, while others might be scared back to windows!